-
Lot Size36,591 sqft
-
Home Size2,102 sqft
-
Beds3 Beds
-
Baths3 Baths
-
Year Built1987
-
Days on Market3
How to Easily Refresh an Old Dresser
- Real Estate Tips
- December 12, 2019

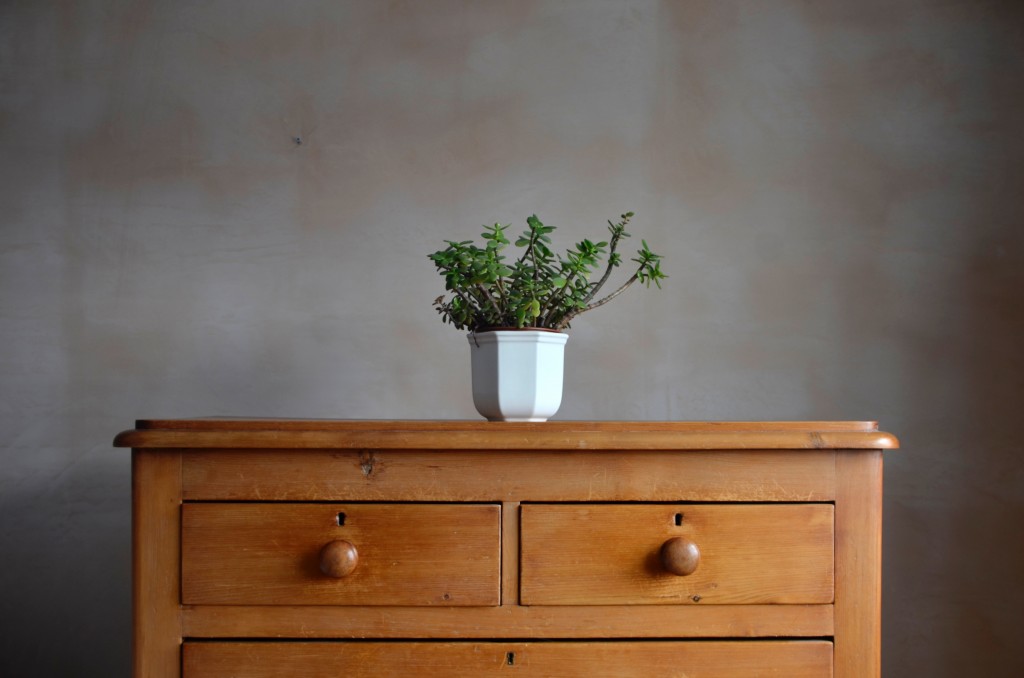
If you have an old dresser, you may consider it an eyesore due to its discolored surface and antique knobs. Refreshing an old dresser can be done! And doing so can not only be fun, but cathartic as well.
So rather than throw out that old dresser and buying a new one, give it a cosmetic upgrade to match your current home décor.
Paint or Stain the Wood
If the paint has faded, repainting the dresser could make it look a million times better! If the dresser’s wood looks dull, stain the wood for a sleek new look.
If there is existing paint on the old dresser, you must first sand down the dresser using fine, medium, or course sandpaper. After the dresser is slick to the touch, prime it and once dry, sand it once more with fine sandpaper to smooth out any brushstrokes. Then just finish the project by painting the dresser a color of your choosing.
If the wood just needs a fresh stain, go over the dresser with fine sandpaper to smooth it. Use a wood conditioner to seal the wood grain to prevent blotchy, uneven staining. Then pick a stain color you like and get to work.
Switch Out the Knobs or Handles
One of the elements that make a dresser look dated is the rusty, antique knobs. Switch out the old hardware for newer parts to refresh your old dresser. The options are practically limitless!
You can pick from all kinds of materials such as ceramic, wood, brass, bronze, steel, glass, and more. And if you have a preferred look in mind, you can narrow down your search by style such as traditional, glam, country, coastal, industrial, and so much more.
Use Wallpaper to Revamp It
Instead of plain paint, you could use wallpaper to turn that old dresser of yours into an accent piece. Use wallpaper to decorate the front drawers, the two sides, or even the top!
You will need an X-Acto knife, Mod Podge, wallpaper, and a brayer. Use the X-Acto knife to cut the wallpaper to your desired fit and then use Mod Podge to adhere the paper. To ensure there are no air bubbles in your finish, use the brayer to smooth out the wallpaper. Once all that’s done, just replace the hardware.


