-
Lot Size18,731 sqft
-
Home Size3,864 sqft
-
Beds5 Beds
-
Baths4 Baths
-
Year Built2004
-
Days on Market1
Do-it-Yourself $20 Window Planter Box
- Real Estate Tips
- June 2, 2020
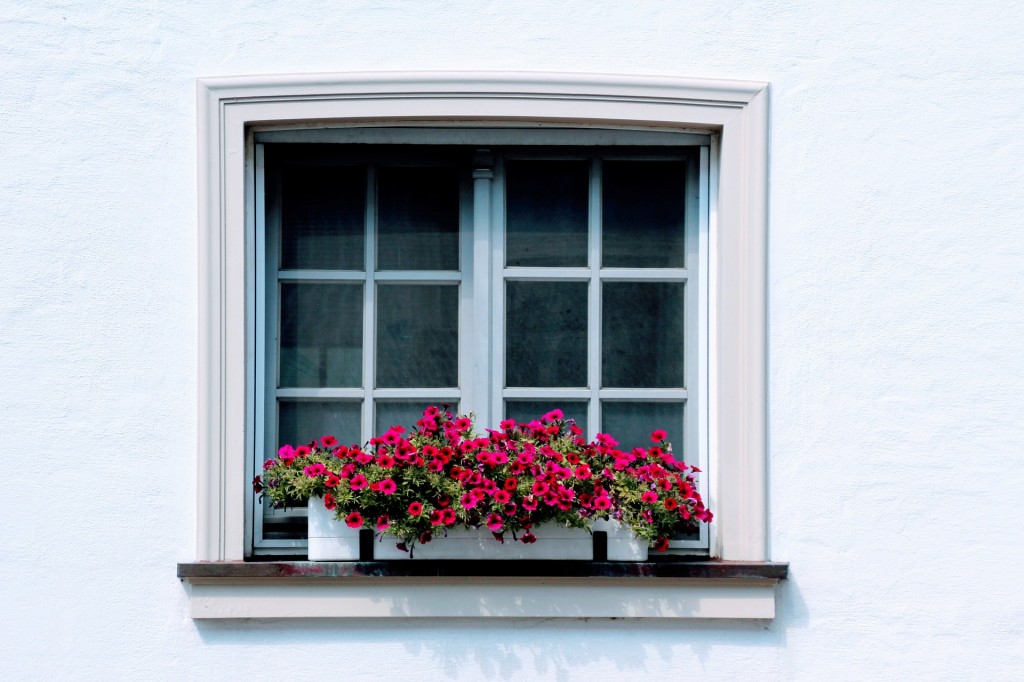
 Summer is upon us and now is the time to increase your curb appeal. There are a lot of ways to change up the exterior of your home, but one easy way is to simply place planter boxes on your windows!
Window planter boxes can be costly, but with a little labor and time, you could easily make one yourself for $20! Your guests will see beautiful lush plants as soon as they walk up to your home. Get started and finished in one weekend!
Materials You Will Need:
- Lumber
- Two 1”x 2” x 8ft
- Two 1”x 8” x 4ft
- One 1”x 8” x 6ft
- 1 ¼” trim screws
- Wood filler
- Sanding block
- Exterior wood stain
Building Your Window Planter Box
To get started, you will have to cut your lumber into several smaller pieces.
Cut the 1”x 2” pieces into:
- Two pieces 48” long
- Eight pieces 4 1/4“ long
- Four pieces 8 3/4” long
Cut the 1” x 8” piece into:
- Three pieces 46 1/2” long
- Two pieces 6 1/2” long
Once all your lumber is cut and organized, you can begin assembly! Take your three 1”x 8” x 46 ½” boards and lay them out. Use one of the pieces as the base and the two remaining pieces as the sides. Secure them in place with the trim screws.
The next step is to seal the box! The two 1”x 8” x 6 1/2” pieces should be fitted into place on the ends of the box and secured with trim screws.
Your box is ready! The remaining lumber pieces will be used as trim. Flip the box on the side and attach two of the 8 3/4” pieces on the end sides of the planter box. Keep them flush against the sides but make sure to keep 4 1/4” inches of space between the pieces. Repeat on the other side.
Using the two 48” pieces, lay them down horizontally across the front side of the planter box and secure in place. At this point, you will only have small 4 1/4” pieces. Attach two on either end of the box in between the 8 3/4” pieces you already secured. There should be a square indent on the ends of the planter box now.
With the remaining four 4 1/4” pieces, lay them down vertically on the front of the planter box. They will fit in between the 48” pieces. Once secured, the front of the planter box should feature three square indents.
For drainage, flip the box upside down and drill some holes. You can make four decent sized holes across the bottom for even draining. The last step is to secure the screws by covering them with wood filler. Once the filler dries, you can sand the planter box down before staining.
Once the box is stained and dried, you can fill it up! To hang it up, put screws through the back of the planter and into studs in the wall. That’s it! You can now plant and display whichever plants you want! Grow some colorful perennials or start an aromatic herb garden.


