-
Lot Size18,731 sqft
-
Home Size3,864 sqft
-
Beds5 Beds
-
Baths4 Baths
-
Year Built2004
-
Days on Market3
How to Install Open Shelving in Your Kitchen
- Real Estate Tips
- April 11, 2019
 Open shelves are extremely popular these days. So much so, that houses with open shelving sold 11 days sooner on Zillow and earned homeowners an increased sale price of 10.1%.
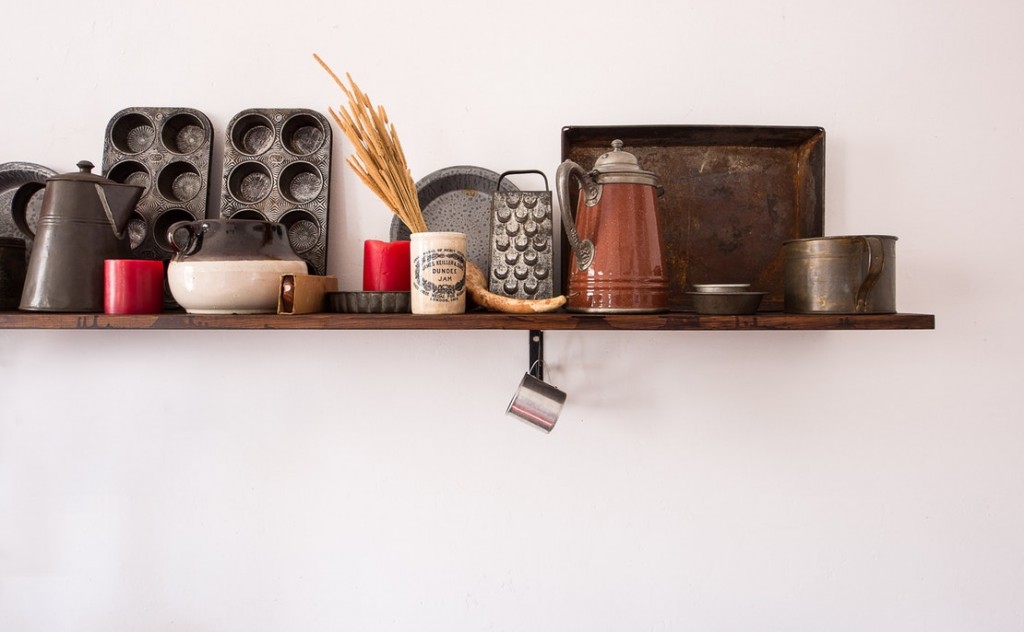
Open shelving brightens a room by removing boxed cabinets and creating more space. Open shelving is functional as it allows you to see what you need, so you can find a certain pot or pan in a jiffy. It is also artistic, as shelves allow you to make use of empty walls and display whatever you like.
To add open shelving to your kitchen, start by picking an empty wall where you would like to hang some shelves. If you have wall cabinets you would like to remove, review this helpful guide to learn how to easily do so yourself.
You Will Need:
- 2-4 Heavy Duty Shelving
- Measuring Tape
- Drill
- Heavy Duty Drywall Anchors
- Floating Shelf Brackets
- Mallet
- Leveler
Steps:
- Measure the wall space and decide if you want two long shelves or four short ones. Buy the appropriately sized wood shelves for this space.
- Note: If you choose floating shelf brackets, have the wood custom cut with holes for the brackets.
- If your wall has tile, remove it and then cut tile to go around your shelves.
- Use a leveler to outline where your shelf, or shelves, and brackets are going to go and mark the studs.
- Use a drill to install the brackets on the wall. If your walls are drywall, use drywall anchors to secure the brackets.
- Note: Read the anchor packaging to ensure your shelf (and the contents on it) will not exceed the weight capacity.
- Once your brackets are drilled into the wall securely with the appropriate anchors, go ahead and use a mallet to secure your wood shelves onto the brackets.
- You’re all done!
Installing your own open shelving is hard work but doing it yourself will be incredibly rewarding! Not to mention, you can learn a thing or two about home improvement with the process.


