-
Lot Size18,296 sqft
-
Home Size2,733 sqft
-
Beds4 Beds
-
Baths3 Baths
-
Year Built2003
-
Days on Market3
How to Install Picture Frame Molding on Your Walls
- Real Estate Tips
- design, DIY, remodel
- June 23, 2020
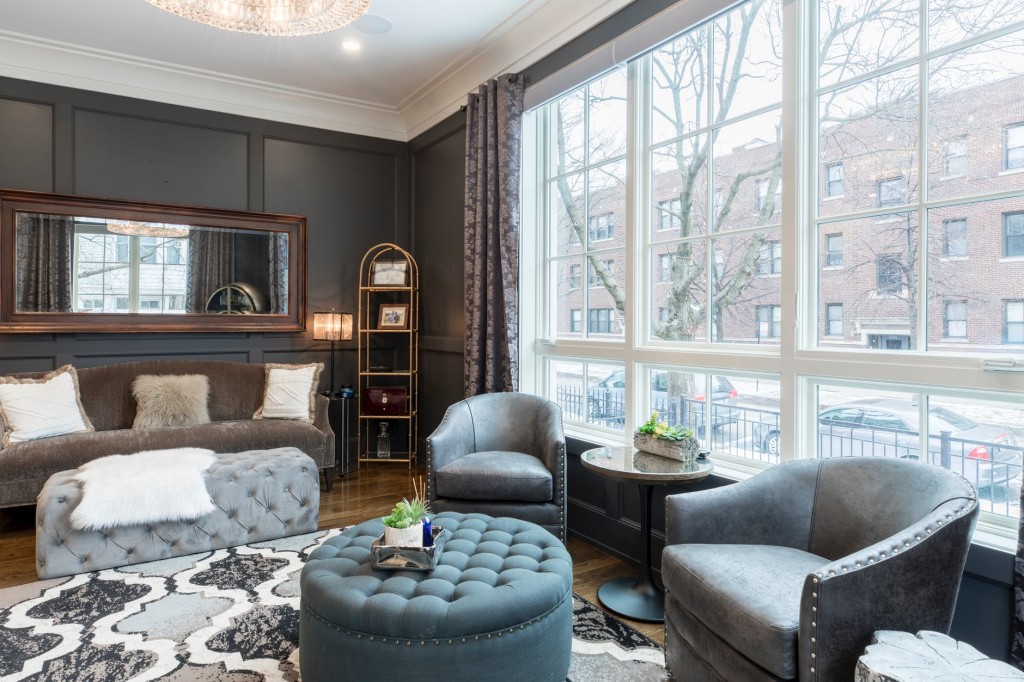
 Picture frame molding is absolutely stunning. It makes any room look much more elegant and refined. Lots of people add this type of decorative molding to their living room and dining room walls for added detail.
Decorative wall molding was especially popular in Victorian and Colonial style homes. It was used to add depth, elegance, and finish.
If you want to decorate any room with picture frame molding, you’ll be pleased to know the look is easy to recreate and install! You could easily finish within one weekend or even within one day if you’re determined.
Tools You Will Need:
- Molding
- Mitre Box
- Standard Saw
- Caulking Gun
- Nail Gun (ex: Ryobi)
- Nails
- 2 Scrap Pieces of Lumber
- Level
- Paint
Assembling Your Decorative Molding
For a true picture frame look, you need to calculate precisely where you’re going to place your molding. There are two key parts: the base and the frames. Measure the walls of the room you want to work on and decide how many vertical panels you want per wall.
Use a piece of lumber to measure the space between the edges of the wall and the panel for either side of the wall. This piece of lumber should also be used to space each panel box apart for a perfectly symmetrical visual. When spacing the first panel box away from the floor, you can use the same measurement or use a different piece of lumber. This all depends on your unique wall and preferred look.
Cut and angle your molding to your preferred measurements using the Mitre box and saw. Remember to measure twice and cut once! Lay out your panel boxes before nailing them to the wall to check for imperfections or adjustments.
If all looks good to you, start installation of your picture frame molding with the bottom portion, then the sides, and finally the top. Use your level and precut lumber every time for precise placement.
Once your paneling is all nailed in place, you can go ahead and seal any nail holes or imperfections in the joints with a calking gun. If there is excess caulk, you can spray your fingers and paneling with soapy water to then remove the excess. Use a towel to wipe your fingers.
Once dry, you can go ahead and paint your paneling and walls your desired color! That’s it! In no time, you will have turned an otherwise boring plain wall into a decorative statement piece.


